
How to
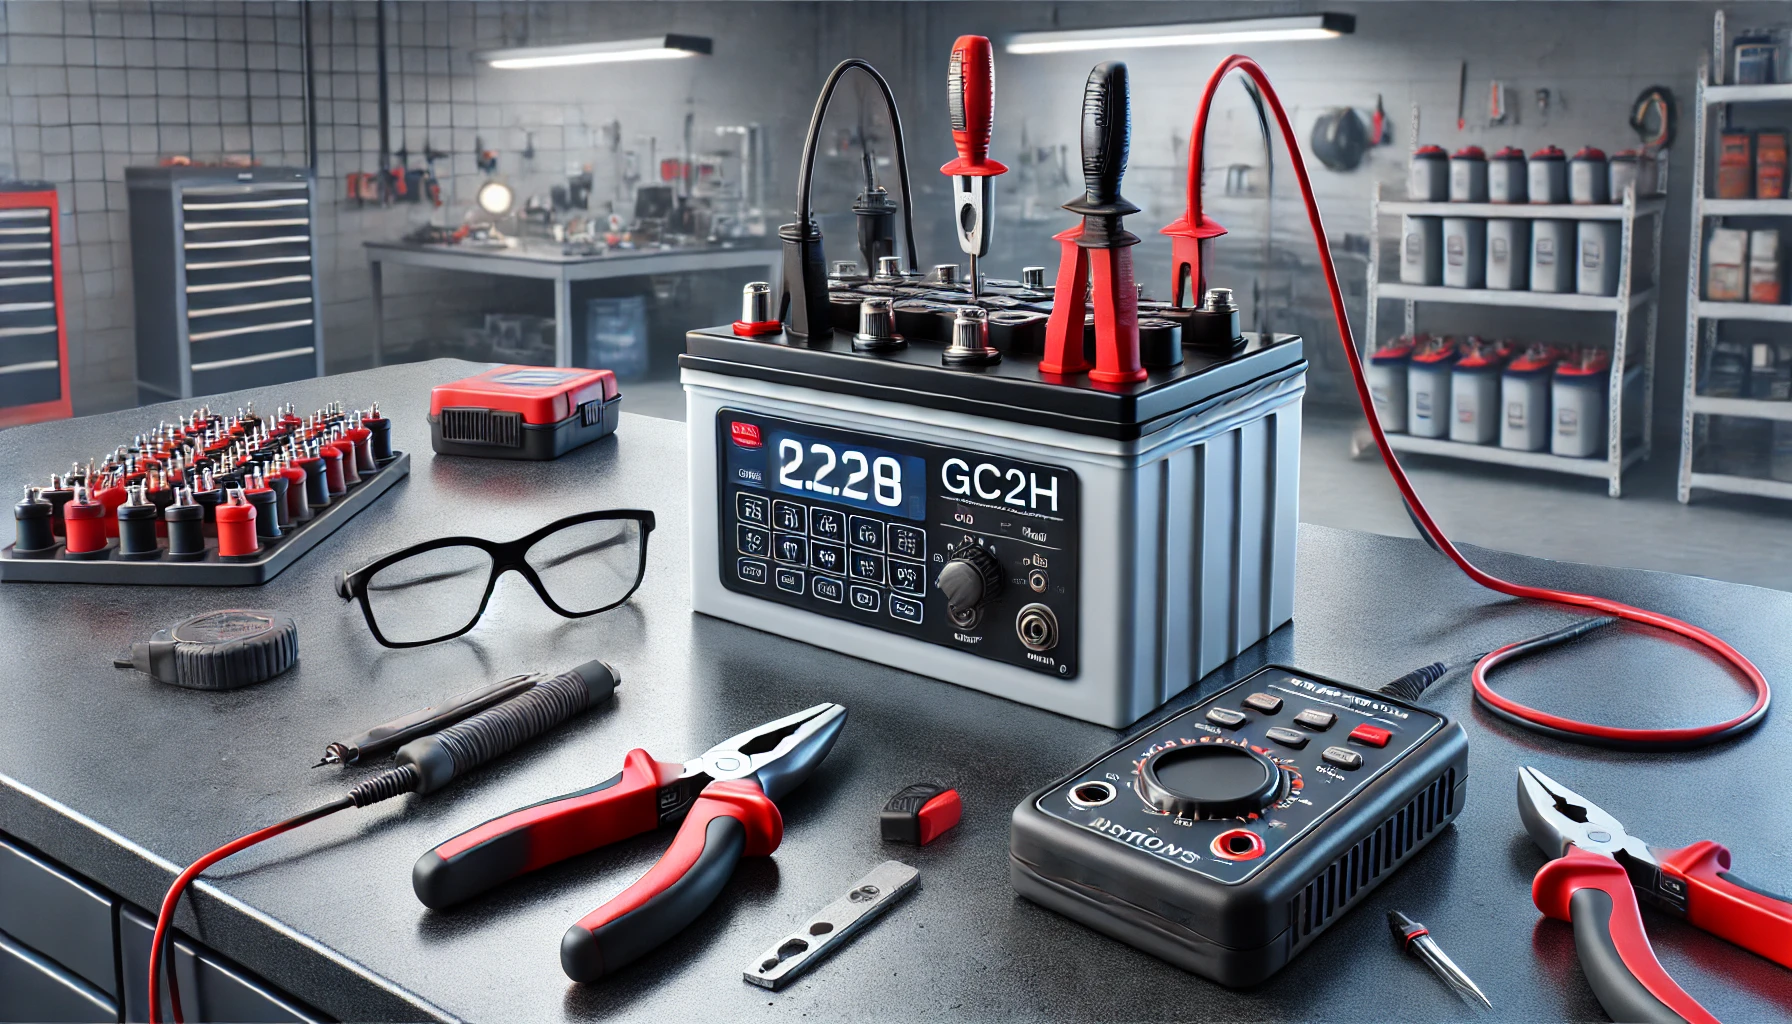
How Can I Measure a GC2H Battery with Midtronics MDX
Introduction
Suppose you own or maintain equipment powered by GC2H batteries. In that case, you know how crucial it is to ensure these batteries are always in top condition. Regular testing can prevent unexpected failures and extend their lifespan. This is where the Midtronics MDX battery tester comes in. This article will guide you through testing a GC2H battery using a Midtronics MDX, ensuring accurate results and optimal battery performance.
Understanding the GC2H Battery
What is a GC2H Battery?
A GC2H battery is a deep-cycle lead-acid battery commonly used in golf carts, solar energy systems, and other industrial applications. Known for its durability and efficiency, it provides sustained power over long periods, making it a reliable choice for energy-intensive tasks.
Why Regular Testing is Crucial
Testing a GC2H battery regularly helps in:
- Detecting early signs of wear and tear
- Preventing sudden battery failure
- Maximizing the battery’sbattery’s lifespan
- Ensuring consistent performance in critical applications
The Midtronics MDX Battery Tester
What is Midtronics MDX?
The Midtronics MDX is an advanced battery diagnostic tool designed to test and analyze batteries accurately. It measures parameters like voltage, cold cranking amps (CCA), and overall battery health, offering a clear snapshot of a battery’s condition.
Types of Midtronics MDX Testers
- MDX-300 Series: Ideal for basic diagnostics.
- MDX-600 Series: Advanced features for in-depth analysis and compatibility with various batteries.
Preparing for the Test
Safety First
Before testing, prioritize safety:
- Wear protective gloves and goggles.
- Ensure the area is well-ventilated.
- Avoid direct contact with battery acid.
Gathering Tools
You’llYou’ll need the following:
- The Midtronics MDX tester
- Compatible clamps and adapters
- Clean rags to wipe terminals
Step-by-Step Guide to Testing a GC2H Battery
Step 1: Powering the Midtronics MDX
- Connect the tester to a power source or use its battery pack.
- Follow the on-screen instructions to calibrate the device.
Step 2: Connecting to the GC2H Battery
- Attach the red clamp to the positive terminal and the black clamp to the negative terminal.
- Ensure the clamps are secure to avoid inaccurate readings.
Step 3: Running the Test
- Select the “deep-cycle battery” option on the tester.
- Input the correct CCA rating (found on the battery label).
- Start the test and wait for the device to analyze the battery.
Step 4: Analyzing the Results
- Key metrics include voltage, state of charge, and health percentage.
- A healthy GC2H battery typically shows a charge above 12.4 volts.
Step 5: Taking Action Based on Results
- If the battery is in good condition, clean the terminals and store it properly.
- If the results indicate poor performance, consider recharging or replacing the battery.
Common Issues During Testing
Troubleshooting Connection Errors
Ensure clamps are securely attached to clean terminals to avoid false readings.
Addressing Inconsistent Readings
Calibrate the tester regularly and test in stable environmental conditions.
Tips for Accurate Battery Testing
- Avoid testing immediately after charging; let the battery rest for accurate results.
- Keep the battery and tester away from direct sunlight or moisture.
Benefits of Using Midtronics MDX for GC2H Batteries
- Precision: Provides detailed and accurate diagnostics.
- Simplicity: Easy-to-use interface suitable for beginners and professionals.
- Cost-Effectiveness: Helps save money by identifying issues early.
FAQs About Midtronics MDX and GC2H Batteries
How often should I test my GC2H battery?
Test your battery every three months or before heavy use.
Can Midtronics MDX be used for other types of batteries?
Yes, it supports various battery types, including automotive and marine.
What does “bad cell detected” mean during testing?
It indicates one or more cells are damaged, and the battery needs replacement.
How long does a GC2H battery typically last?
With proper maintenance, it can last 5-7 years.
Are there alternative testers to Midtronics MDX?
Yes, options include Schumacher, Foxwell, and Clore Automotive testers.
Conclusion
Maintaining your GC2H battery is crucial for the longevity and efficiency of your equipment. The Midtronics MDX tester provides a reliable, user-friendly way to keep your battery in check. Follow the steps outlined here to ensure optimal performance and a longer lifespan for your battery.
Introduction
Mugen is a popular 2D fighting game engine that allows players to create and customize characters. One common customization request is removing the cell outline around characters. Some players prefer a cleaner look, while others want to modify the art style.
If you’re looking to remove cell outlines in Mugen, you’ve come to the right place! This guide will walk you through multiple methods to achieve a seamless look for your characters.
Understanding the Cell Outline in Mugen
What is a Cell Outline?
A cell outline is a border surrounding a character’s sprite. It is usually a thick black or colored line that helps define the edges of a character.
Why Do Some Characters Have a Cell Outline?
Cell outlines are added for various reasons, such as:
- Enhancing character visibility
- Giving characters a cel-shaded or anime-style look
- Improving sprite clarity in different backgrounds
How the Cell Outline Affects Gameplay and Aesthetics
Some players love the extra definition cell outlines provide, while others find them distracting. Removing the outline can make characters blend better with certain backgrounds or match specific art styles.
Methods to Remove Cell Outline in Mugen
1. Editing the Character’s DEF and CNS Files
One of the simplest ways to remove cell outlines is by modifying the .def and .cns files of a character.
Steps:
- Open the character’s folder in your Mugen directory.
- Locate the .def and .cns files.
- Look for parameters related to the outline and modify or remove them.
- Save the files and test the character in Mugen.
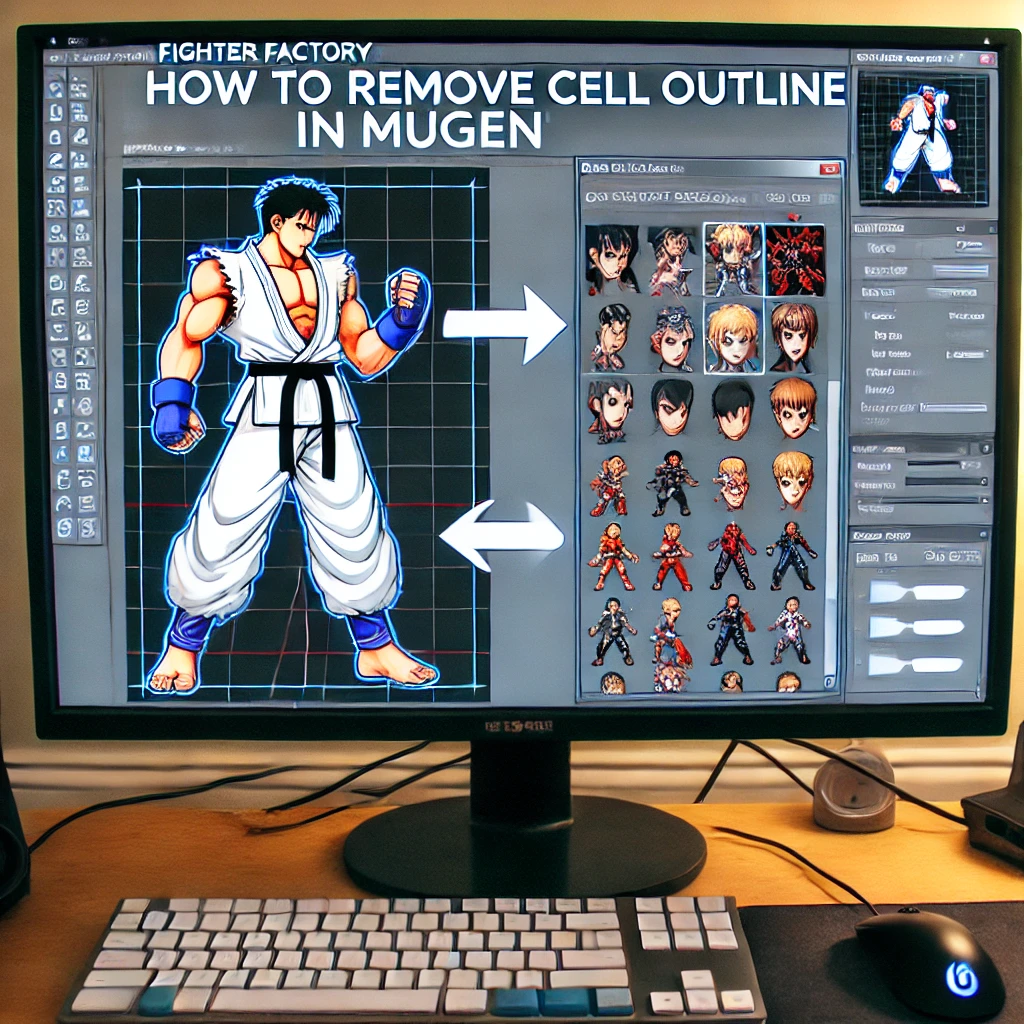
2. Modifying the SFF File Using Fighter Factory
Fighter Factory is a powerful tool for editing Mugen characters, including their sprites.
Steps to Remove the Outline:
- Download and install Fighter Factory.
- Open the SFF file of your character.
- Select the sprite images and remove or adjust the outline.
- Save the updated file and replace the old one.
- Test the character in Mugen.
3. Adjusting Transparency and Color in Mugen
If the outline is a specific color, you can adjust its transparency settings in the palette.
Steps:
- Open Fighter Factory or a similar tool.
- Locate the character’s palette settings.
- Adjust the transparency of the outline color.
- Save and test in Mugen.
4. Using Photoshop or GIMP to Edit Sprites
For complete control over the outline, you can manually edit each sprite in an image editor.
Steps:
- Extract the sprites from the character’s SFF file.
- Open them in Photoshop or GIMP.
- Use the Eraser Tool or Magic Wand Tool to remove the outline.
- Save the modified sprites and reinsert them into Mugen.
Troubleshooting Common Issues
Outline Still Visible After Changes
- Double-check transparency settings.
- Ensure changes are saved correctly.
Character Looks Distorted After Editing
- Verify correct sprite alignment.
- Adjust the palette settings.
Game Crashes After Making Changes
- Restore from a backup.
- Debug by checking error messages in the console.
Alternative Approaches for Customization
Using Pre-Made Outline-Free Sprites
Some websites offer Mugen sprites without outlines. You can import these into your game.
Applying Shader Effects Instead of Removing Outline
Instead of removing outlines, try applying shaders or filters to change the appearance.
Best Practices for Editing Mugen Characters
- Always Back Up Your Files before making changes.
- Test Changes Regularly to avoid major issues.
- Keep a Copy of the Original Sprites in case you need to revert.
Conclusion
Removing cell outlines in Mugen can be done in several ways, from simple DEF file edits to full sprite modifications. Experiment with different methods and choose the one that works best for your character and art style.
FAQs
1. Can I remove cell outlines from all characters?
Yes, but some characters may require different methods depending on how their sprites were designed.
2. What if I accidentally delete important files?
Always back up your files before making changes to avoid losing important data.
3. Do I need coding skills to remove cell outlines?
Basic Mugen file editing doesn’t require coding skills, but more advanced changes might.
4. Are there any tools that can automate this process?
Fighter Factory is the best tool for automating some of these changes.
5. Where can I find more resources for Mugen character editing?
Check Mugen forums and modding communities for guides and tutorials.
Introduction
If you’re working on an electronic project that requires multiple controls, you might want to connect two Liberator potentiometers to a Hyperswitch. This setup allows for greater flexibility and customization, especially in audio circuits and guitar modifications.
In this guide, we’ll cover everything you need to know about connecting two Liberator potentiometers to one Hyperswitch, step by step. By the end, you’ll be able to set up and troubleshoot this configuration easily.
Understanding the Components
What is a Liberator Potentiometer?
A Liberator potentiometer is a variable resistor that allows you to control voltage levels in a circuit. It is commonly used in audio systems, electric guitars, and other electronic devices to regulate volume, tone, or gain.
Types of Liberator Potentiometers
- Linear Potentiometers – Resistance changes at a constant rate.
- Logarithmic Potentiometers – Used in audio applications where human perception requires a logarithmic response.
What is a Hyperswitch?
A Hyperswitch is an advanced multi-position switch that lets you toggle between different circuits or settings. It’s especially useful in guitar electronics, robotics, and automation.
Why Use a Hyperswitch with Potentiometers?
- Allows multiple input sources
- Provides customized signal switching
- Improves user control in audio and electric circuits
Why Connect Two Liberator Potentiometers to One Hyperswitch?
- Better Customization – Independent control over different signals
- Enhanced Circuit Control – Mix and match resistance values
- Guitar Modifications – Switch between multiple tone or volume settings easily
Tools and Materials Needed
- Liberator Potentiometers (2)
- Hyperswitch (1)
- Soldering Iron & Solder
- Wire Strippers & Cutters
- Multimeter (for Testing)
- Insulated Wires & Heat Shrink Tubing
Step-by-Step Guide to Connecting 2 Liberator Potentiometers to 1 Hyperswitch
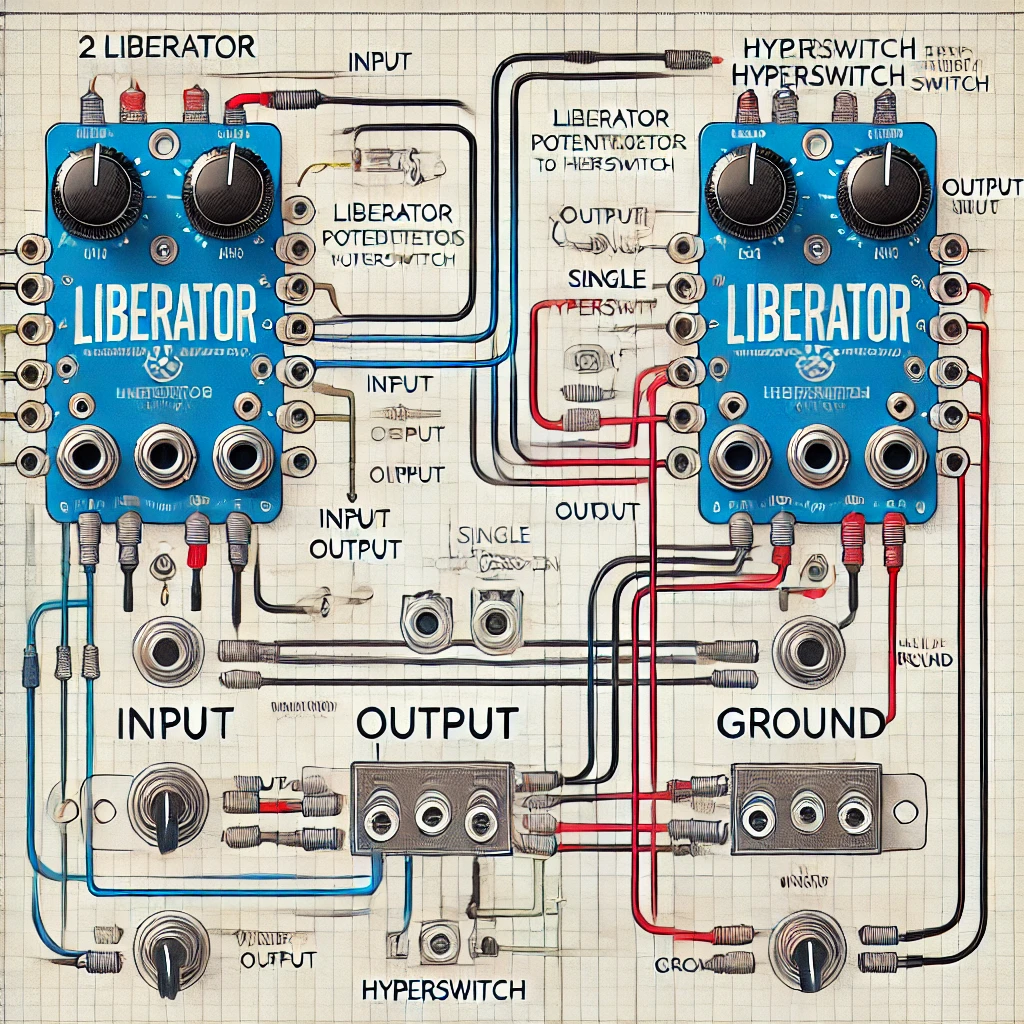
Step 1: Understanding the Wiring Diagram
Before starting, it’s crucial to analyze the circuit diagram. Each potentiometer has three terminals:
- Input (Pin 1)
- Output (Pin 2)
- Ground (Pin 3)
Step 2: Preparing the Components
- Check if the potentiometers match the resistance needed
- Ensure the Hyperswitch is compatible with your circuit
Step 3: Wiring the First Liberator Potentiometer
- Connect Pin 1 to the input signal
- Solder Pin 2 to the Hyperswitch
- Attach Pin 3 to the ground wire
Step 4: Wiring the Second Liberator Potentiometer
- Repeat the same steps as Step 3, but connect it to a different Hyperswitch terminal
Step 5: Connecting to the Hyperswitch
- Ensure both potentiometers’ outputs are routed to different positions on the Hyperswitch
- Secure all connections using heat shrink tubing to avoid short circuits
Step 6: Testing the Connection
- Use a multimeter to check continuity and resistance
- Turn the potentiometers and see if the voltage changes accordingly
Troubleshooting Common Issues
Issue 1: No Signal Output
✔️ Check if the solder joints are properly connected.
✔️ Ensure the Hyperswitch is functioning correctly.
Issue 2: Uneven Control Response
✔️ Verify that the potentiometers match in resistance values.
✔️ Adjust the wiring order if needed.
Issue 3: Interference or Noise
✔️ Use shielded cables to reduce electromagnetic interference.
✔️ Ensure proper grounding.
Tips for Optimizing Performance
✅ Use high-quality wires and connectors.
✅ Keep wires organized to prevent accidental cross-wiring.
✅ Test before finalizing the installation.
Conclusion
By following this guide, you can easily connect two Liberator potentiometers to one Hyperswitch for better control and efficiency. Whether you’re modifying a guitar or working on a complex circuit, this setup enhances customization and performance.
FAQs
Can I connect more than two potentiometers?
Yes, but you’ll need to consider voltage drop and interference.
What if my potentiometers don’t match?
Try using resistors to balance resistance.
Do I need a heat sink for soldering?
No, but using one prevents overheating.
Can I use a breadboard to test first?
Absolutely! It’s a great way to avoid mistakes.
How do I prevent buzzing noise in a guitar setup?
Use proper shielding and grounding.

Introduction
CudoMiner is a popular cryptocurrency mining software that allows users to mine digital currencies efficiently. While it offers a user-friendly interface and automation features, some users may need to uninstall it due to system performance issues, switching to another mining software, or simply discontinuing mining activities.
However, completely removing CudoMiner from Linux Mint requires more than just a simple uninstall command. Some residual files, configurations, and dependencies may still linger in your system. This guide will walk you through every step to ensure a complete uninstallation.
Preparing for Uninstallation
Checking if CudoMiner is Running
Before uninstalling CudoMiner, it’s essential to stop any running processes related to it.
- Open the terminal (Ctrl + Alt + T).
Run the following command to check for active CudoMiner processes:
bash
CopyEdit
ps aux | grep cudo
If you find any processes running, stop them with:
bash
CopyEdit
sudo systemctl stop cudo-miner.service
sudo killall cudominer
Removing CudoMiner Using Terminal
Using apt or dpkg to Remove CudoMiner
To uninstall CudoMiner, use one of the following commands:
Method 1: Using apt (Recommended)
bash
CopyEdit
sudo apt remove –purge cudominer -y
This removes CudoMiner and its configuration files.
Method 2: Using dpkg (Alternative)
If CudoMiner was installed manually using a .deb package, remove it using:
bash
CopyEdit
sudo dpkg –remove cudominer
Deleting Leftover Files and Configurations
Removing Hidden Configuration Files
CudoMiner may leave hidden configuration files in your home directory. To remove them:
bash
CopyEdit
rm -rf ~/.config/cudo
rm -rf ~/.local/share/cudo
Clearing Cached Data
To remove logs and cached files:
bash
CopyEdit
sudo rm -rf /var/log/cudo*
sudo rm -rf /var/lib/cudo*
Cleaning Up Dependencies and Unused Packages
Checking for Unused Dependencies
After removing the main package, clean up unused dependencies:
bash
CopyEdit
sudo apt autoremove -y
Manually Cleaning Up Remaining Files
Find and delete any remaining CudoMiner-related files:
bash
CopyEdit
sudo find / -iname “*cudo*” -exec rm -rf {} \;
Verifying CudoMiner is Completely Removed
Checking for Any Remaining Processes
Even after uninstallation, some processes might still be running. Verify with:
bash
CopyEdit
ps aux | grep cudo
If any process is found, kill it:
bash
CopyEdit
sudo killall cudominer
Ensuring No Traces in System Startup
Check system startup services:
bash
CopyEdit
sudo systemctl list-units –type=service | grep cudo
If you find a service still listed, disable and remove it:
bash
CopyEdit
sudo systemctl disable cudo-miner.service
sudo systemctl stop cudo-miner.service
Alternative Uninstallation Methods
Using a Third-Party Uninstaller
For users who prefer a graphical approach, a package manager like Synaptic can be used to completely remove CudoMiner.
- Open Synaptic Package Manager.
- Search for “CudoMiner.”
- Mark for complete removal.
- Apply changes.
Reinstalling and Then Uninstalling Again
If an error occurs during uninstallation, reinstalling before removing might help:
bash
CopyEdit
sudo apt install –reinstall cudominer -y
sudo apt remove –purge cudominer -y
Final System Cleanup
Running System Update and Upgrade
Ensure no broken dependencies remain:
bash
CopyEdit
sudo apt update && sudo apt upgrade -y
Performing a System Reboot
Reboot your system to finalize changes:
bash
CopyEdit
sudo reboot
Conclusion
By following these steps, you can ensure that CudoMiner is entirely removed from Linux Mint without leaving residual files. A thorough uninstallation helps maintain system performance and prevents conflicts with future installations.
FAQs
1. How do I check if CudoMiner is still installed?
Run dpkg -l | grep cudominer in the terminal. If no results appear, it is uninstalled.
2. Will uninstalling CudoMiner affect my mining configuration?
Yes, unless you back up your configuration files before removing the software.
3. Can I reinstall CudoMiner after uninstalling it?
Yes, you can download and install it again from the official website.
4. What should I do if an error occurs during uninstallation?
Try reinstalling CudoMiner first, then removing it again.
5. Are there alternative mining programs for Linux Mint?
Yes, alternatives include NiceHash, MinerGate, and XMRig.


Trailrunner 211RD Left Signal Not Working: Troubleshooting & Fixes

DCUO Futuristoc Drone: Mastering Game-Changing Gadget

Fauxmoi: Everything You Need to Know About This Rising Trend

How to Connect 2 Liberator Potentiometers to 1 Hyperswitch

Melanie from CraigScottCapital: Inspiring Leadership and Financial Excellence

Perchance AI Story Generator: Unleashing Creativity with AI
-
 How to8 months ago
How to Connect 2 Liberator Potentiometers to 1 Hyperswitch
-
 Blog8 months ago
Melanie from CraigScottCapital: Inspiring Leadership and Financial Excellence
-
 Tech8 months ago
Perchance AI Story Generator: Unleashing Creativity with AI
-
 Tech7 months ago
DCUO Futuristoc Drone: Mastering Game-Changing Gadget
-

 Blog8 months ago
Esports EmbersLasVegas: Everything you need to know
-

 How to8 months ago
How Many Solar Panels to Achieve 4.863 kW
-
 How to8 months ago
How to Reset Bluetooth Speaker SP-0237-SPK Manual
-
 How to8 months ago
How to Replace Window Trim on a 2004 Tatcom